How to build your own mechanical watch
Have you ever wanted to build your own watch? Something unique and specific to your tastes? Maybe you’ve seen watches that had a great dial and case, but the hands weren’t quite right? Well, with a little research on the internet, some mechanical know-how and a fair bit of patience, you can build your very own bespoke watch. For this watch, I wanted to try a B-Uhr style Flieger and the end result was better than I could have imagined. These are the steps I took to make it happen.
Step 1: Finding the Parts
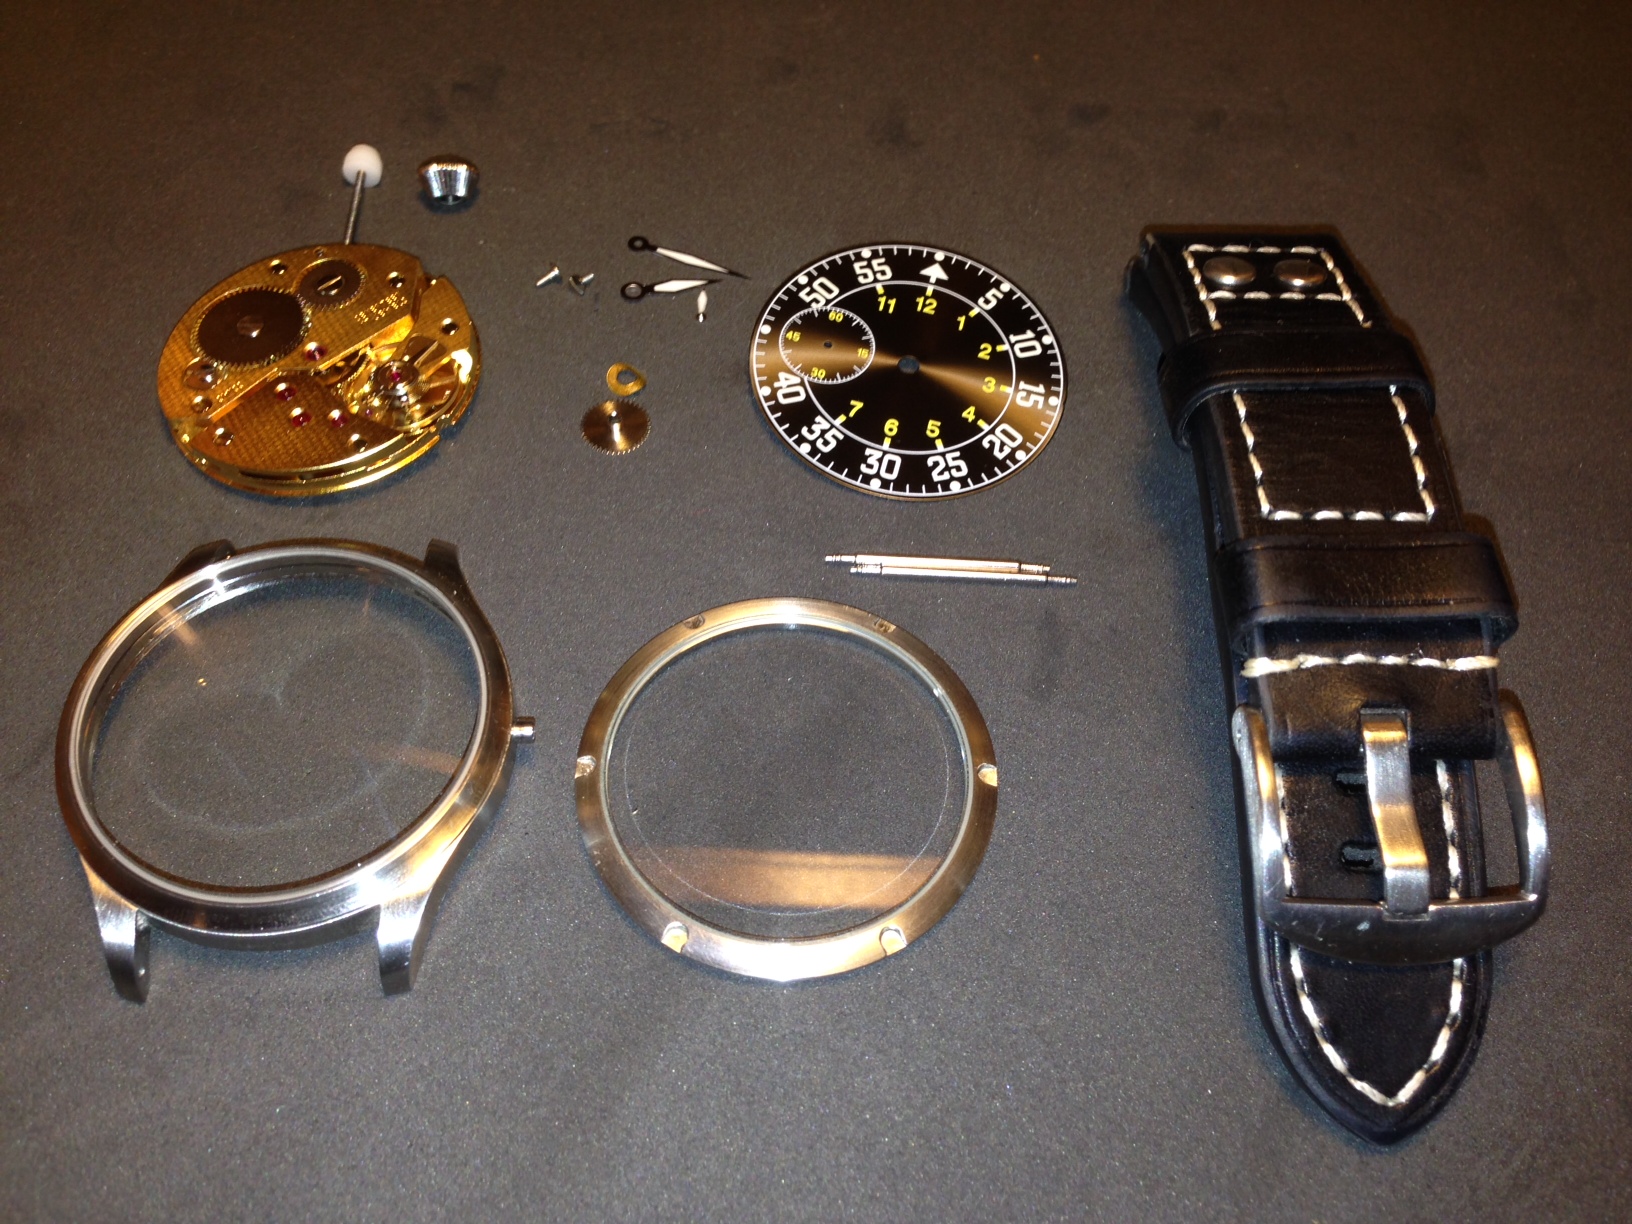
The first step to building your custom Flieger is sourcing the parts. You’ll need to find the following:
A MOVEMENT
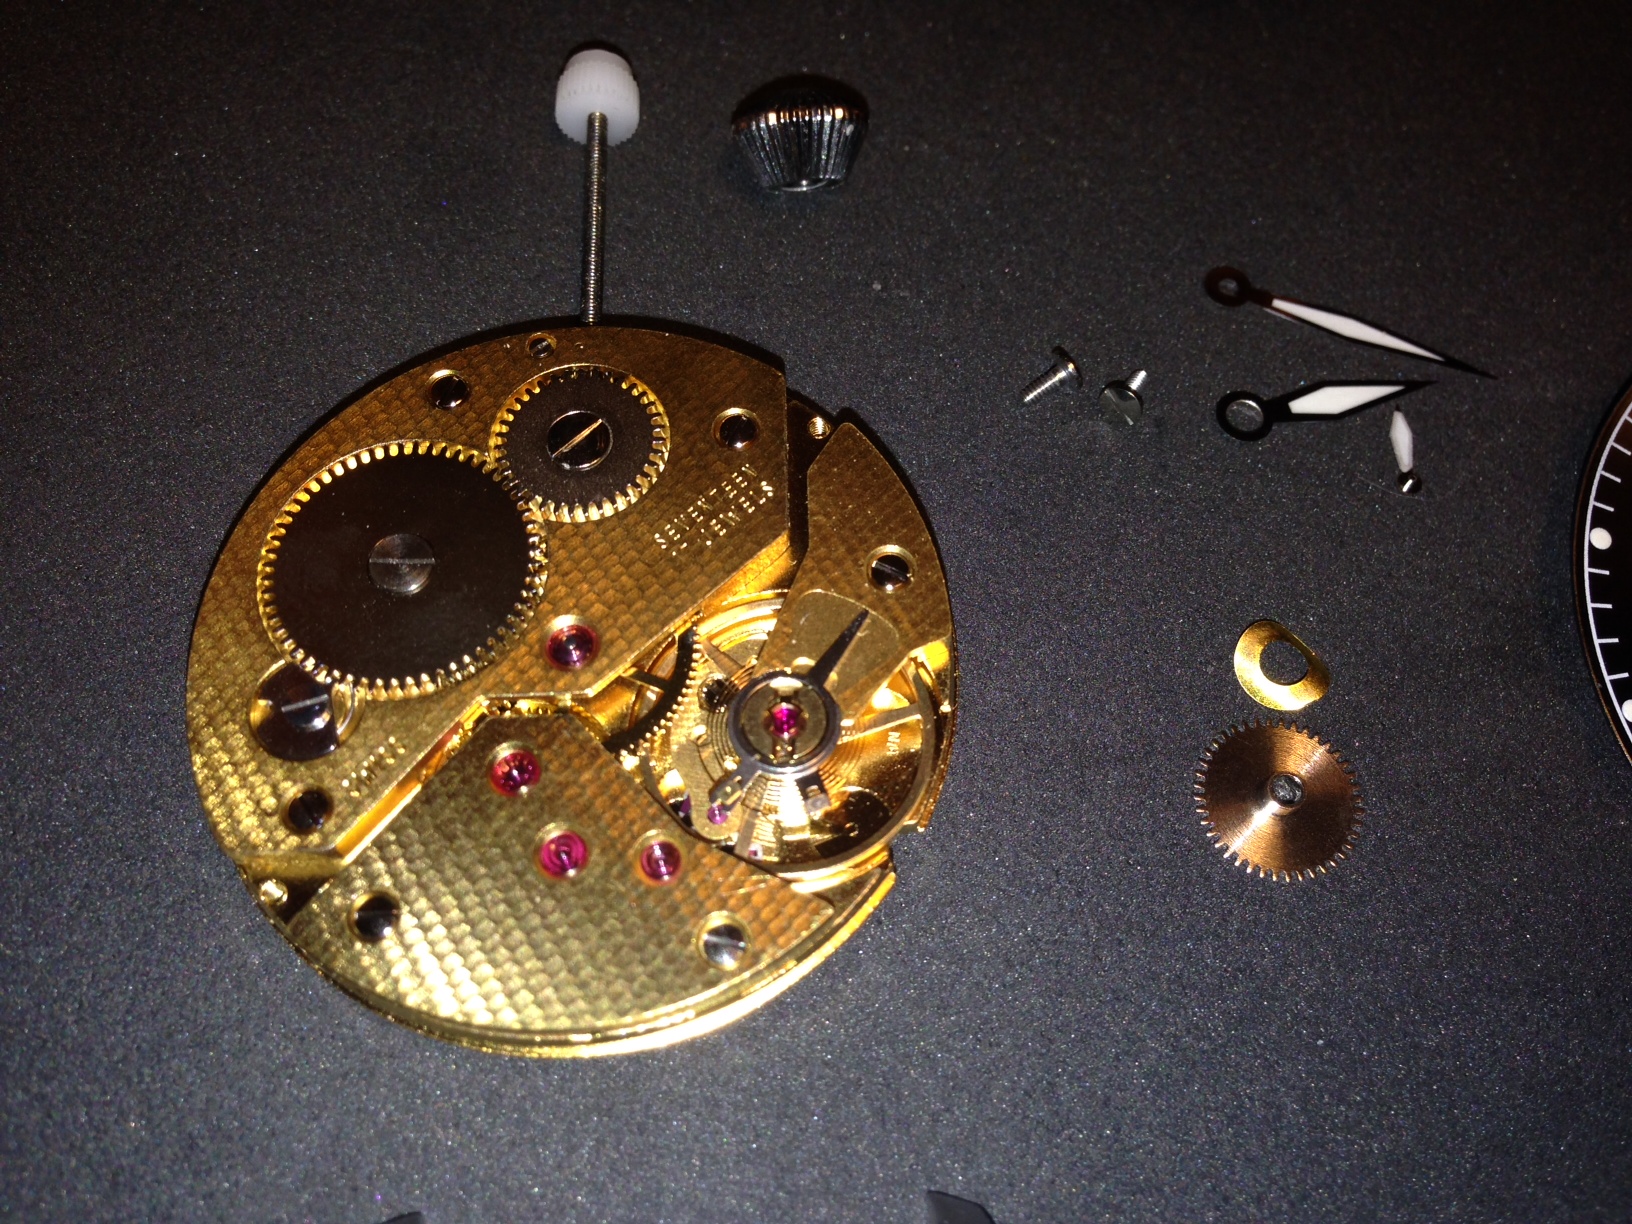 You’ll want to figure out the movement first since this will determine the layout of the dial and the second hand position. The movement I used for my watch is an ETA 6497, which has its second hand located at the 9 o’clock position. If you would rather have your second hand at the 6 o’clock position you can get the ETA 6498 instead.
ETA movements are getting harder to find these days since ETA has decided to stop supplying their movements to third parties. Despite the shortage, you can still buy them through Otto Frei and sometimes find them on eBay. The price depends on the level of decoration you want. I ordered the gold-toned movement with a hammered finish for $169.00.
A CASE
 For the case, it needs to be compatible with the ETA 6497/6498 movement. I went with a Solid Steel B-Uhr style case from HelenaRou. This case is available with mineral crystal glass for $49.95 or sapphire for an additional $40.00.
DIAL & HANDS
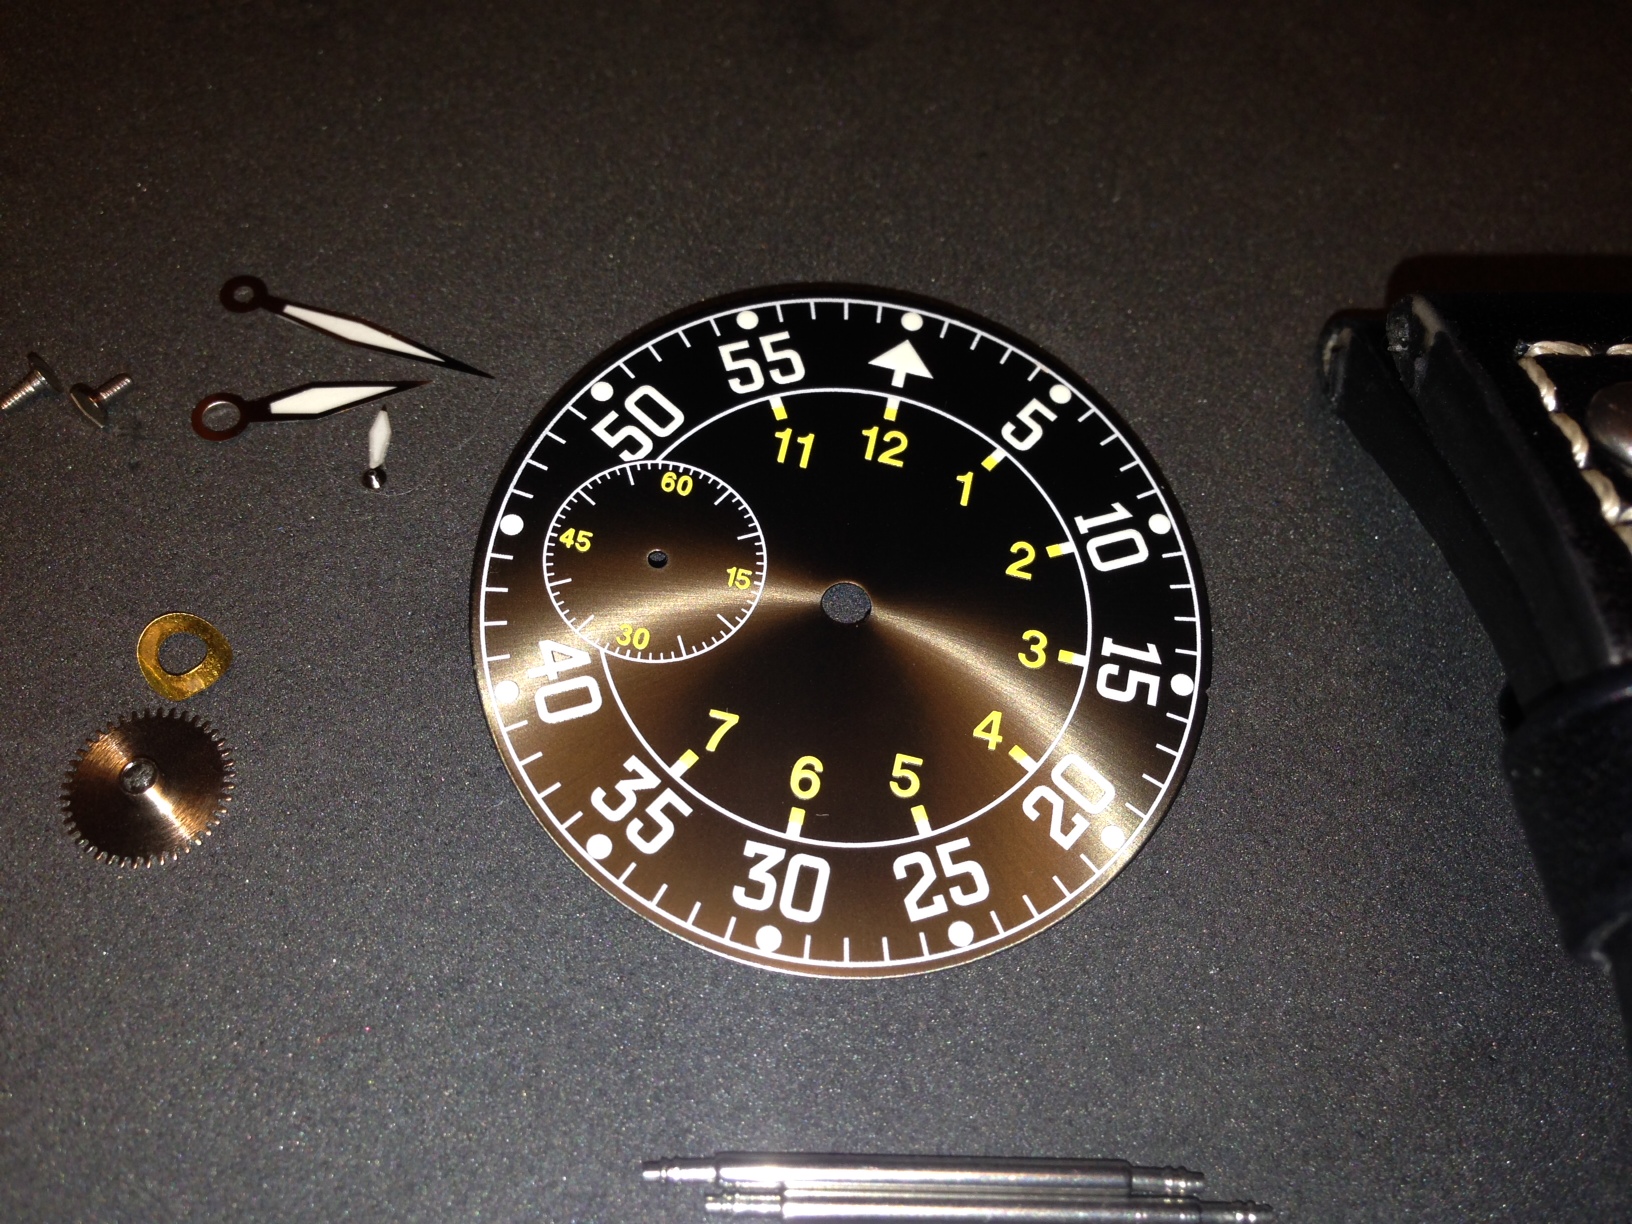 Since I was already getting my case from HelenaRou, I decided to get my dial and hands there as well. I went with the Black Sunray Dial ($24.95) and Silver Anodized superlume hands ($15.50).
STRAP

For the strap, I went with the 22mm
Black Calf Flieger Strap from Crown & Buckle. I paid $30.00 for mine, but it's currently on sale for $17.50. That's an amazing price for a calfskin leather strap.
MISCELLANEOUS
You'll also need 22mm spring bars and
Mounting Tabs for the movement.
Once all of my parts were in, I laid everything out to inspect for damages or imperfections. I should probably mention at this point that I built this watch about a year ago and have been wearing it quite frequently since. I took it apart for the purpose of this tutorial, so any scratches or scuffs you may notice on the case or strap are the result of lots of use. Your parts should be in pristine condition when you receive them.

Step 2: Removing the stem from the movement
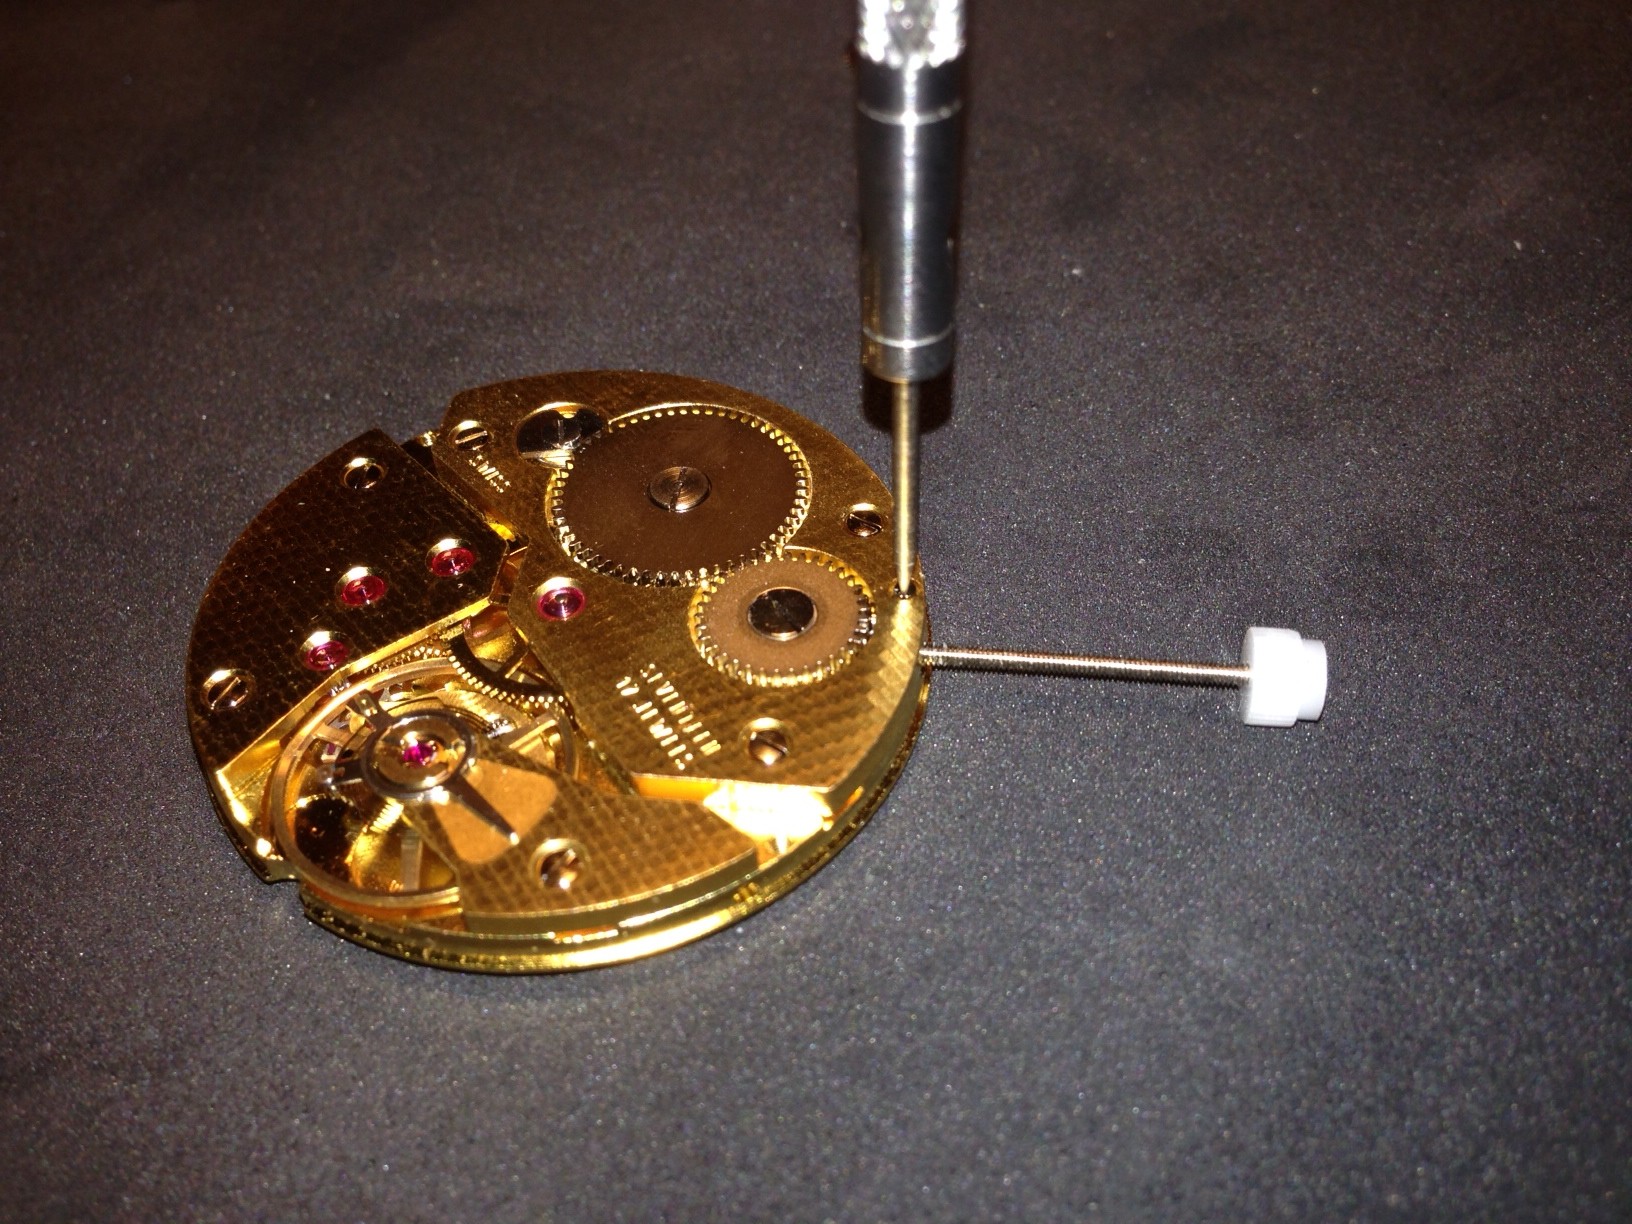
First, remove the stem from the movement. ETA uses a set screw to hold the stem in, so to remove it, you'll need to rotate the set screw approximately 180 degrees. Don't completely unscrew it, just turn it slightly and pull on the stem. If it doesn't pop out, turn the screw another quarter turn and try again.
Step 3: Installing the hour wheel and dial washer

Once the stem is out, you can put the hour wheel and dial washer in place. Simply drop the hour wheel over the canon pinion and make sure the gears on the outside engage with the gears of the minute wheel.
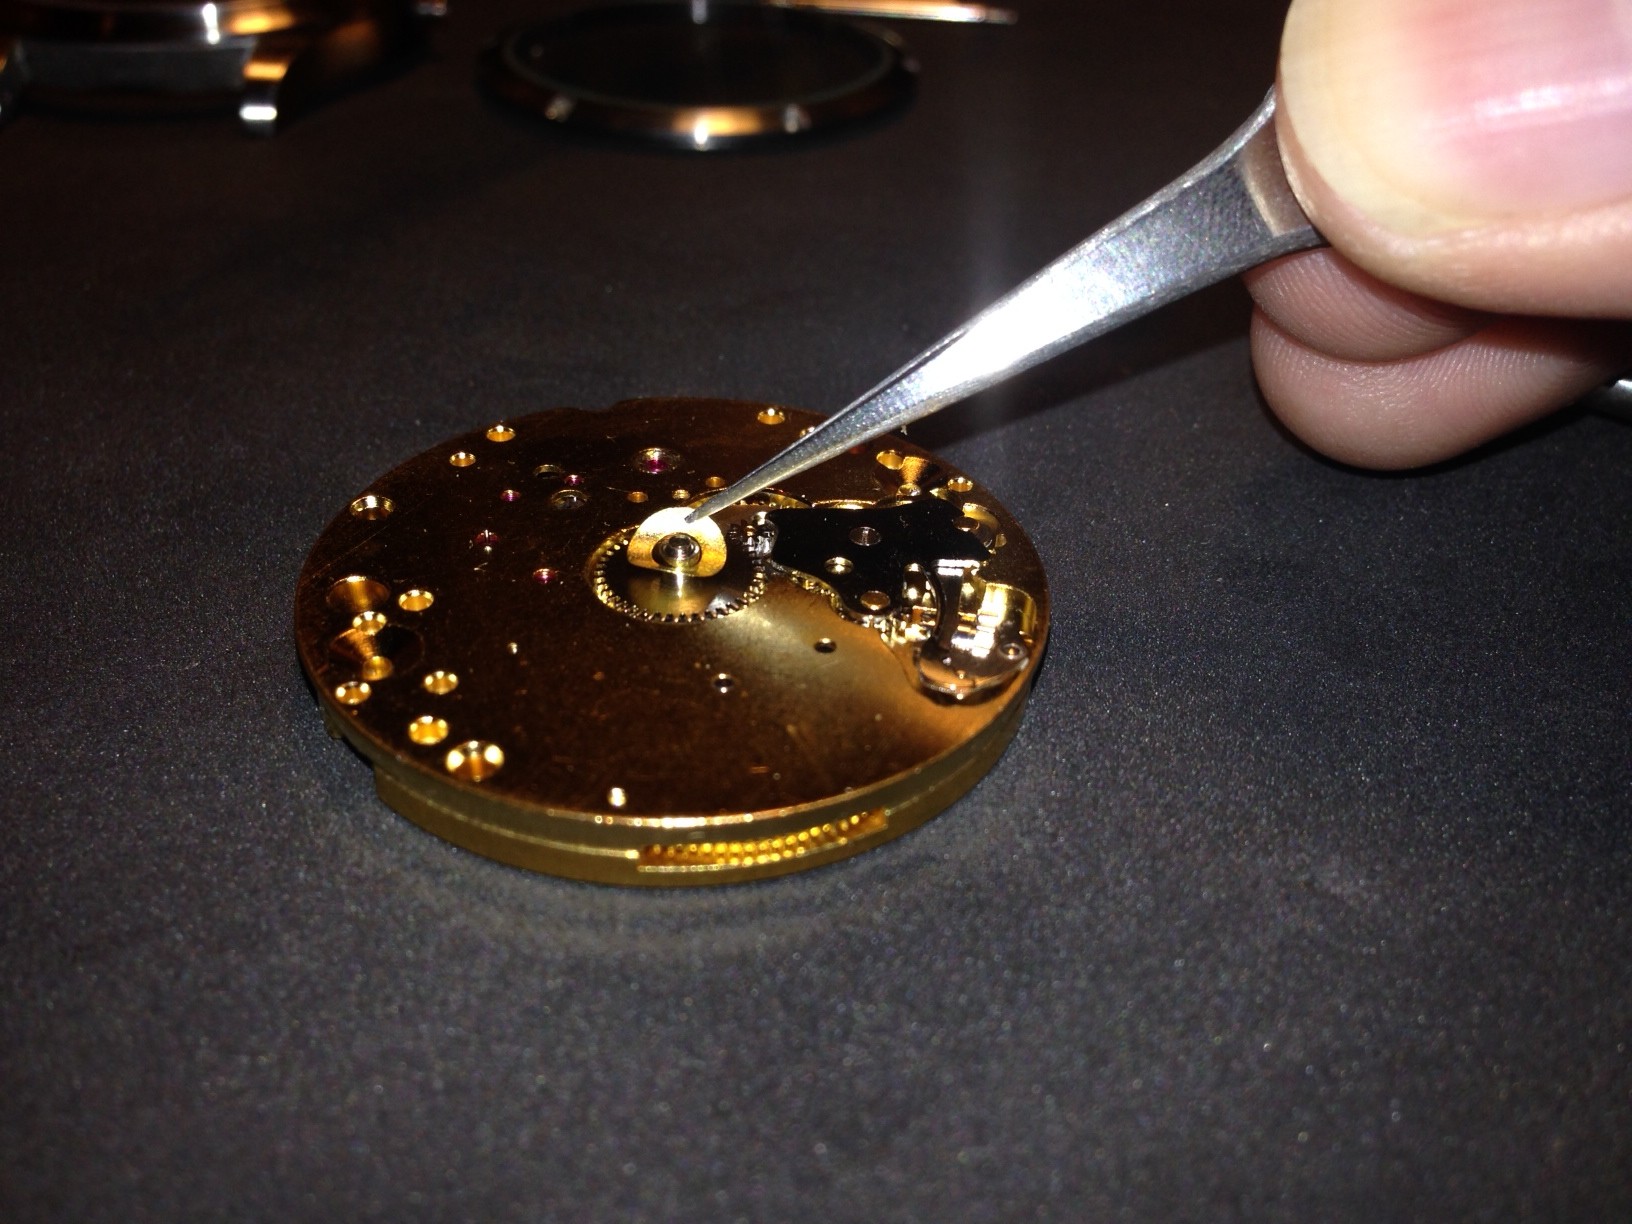
Once the hour wheel is in place, put the dial washer on top of it. When the dial is installed, it will press against the washer and keep the hour wheel in place.
Step 4: Installing the dial
Next, loosen the set screws that hold the dial feet in place. These will be tightened down when you receive the movement, so give them a few counter-clockwise turns to clear the space that the dial feet will sit in.

Now we're ready to put the dial in place. Avoid scratching the dial or getting fingerprints on it. I used a stick with some Rodico cleaning putty on the end to put it in place. If you like, you can just grip it from the sides. Once the dial is in position and sitting flush with the movement, tighten the set screws you just loosened. This should hold the dial firmly in place.

Step 5: Attaching the hands
Now it's time to set the hands. Starting with the hour hand, drop it into place and use something to press it over the shaft of the hour wheel. Once in place, check it from the sides to make sure it is parallel with the surface of the dial.

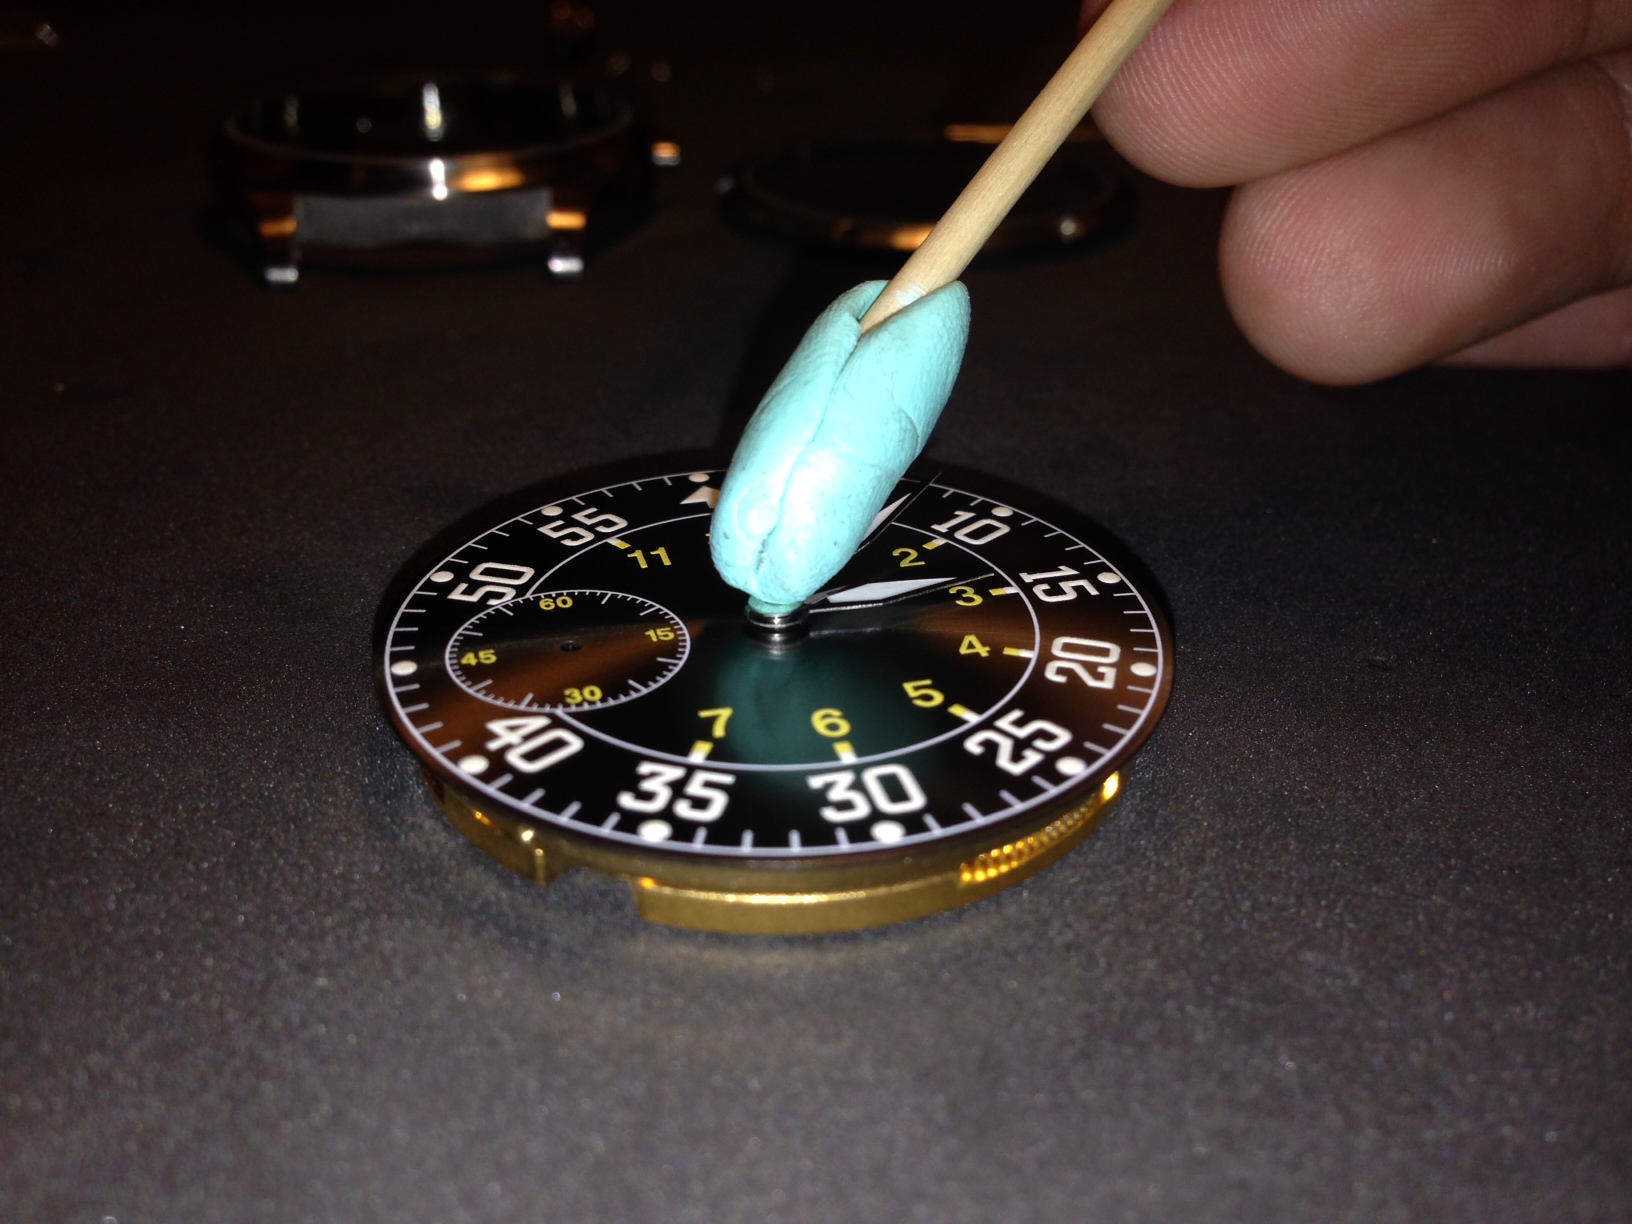
Next is the minute hand. I used Rodico cleaning putty on a stick to put the minute hand in place before pressing it down onto the canon pinon. Again, verify that the hands are parallel with the dial and each other.

The last and most difficult hand is the second hand. The pinion for the second hand is extremely small. So small you won't likely be able to see it without magnification, so if you have a loupe or magnifying glass, now is the time to use it. The pinion is also fragile, so it's best to get the second hand in position. Then, verify that it's on the pinion and not next to it before pressing down.


Step 6: Casing the movement
Once the dial and hands are firmly in place, add the movement adapter. Slip it around the movement, making sure to align the hole in the adapter with the stem hole in the movement. The bevel should face away from the dial.
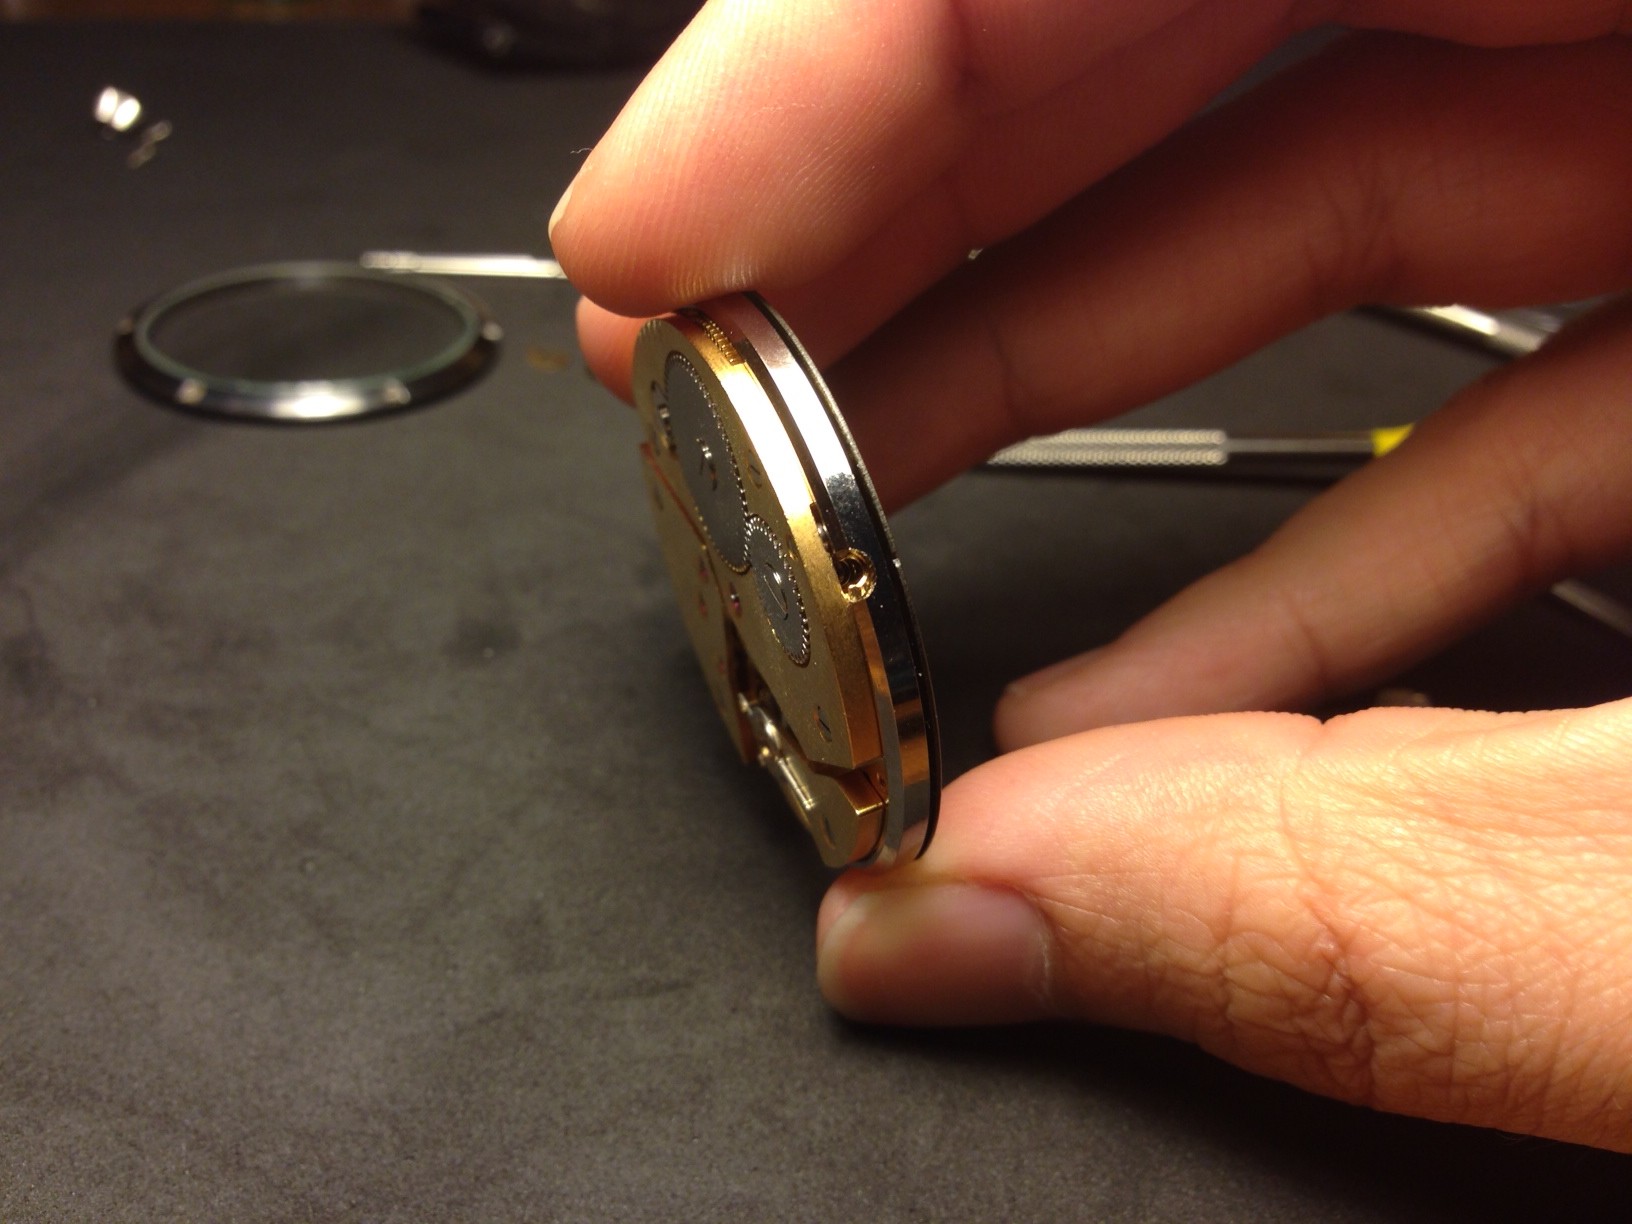
We're almost ready to put the watch in the case, so set the movement aside (dial side up) and start to clean the inside of the case with a microfiber cloth. Make sure there are no fingerprints or dust specks inside the case. Once it's sealed up, you want it to stay that way, so take your time to make sure everything is clean.

Once the case is clean, drop the movement in. Once again, make sure the watch stem is lined up and in the appropriate place.
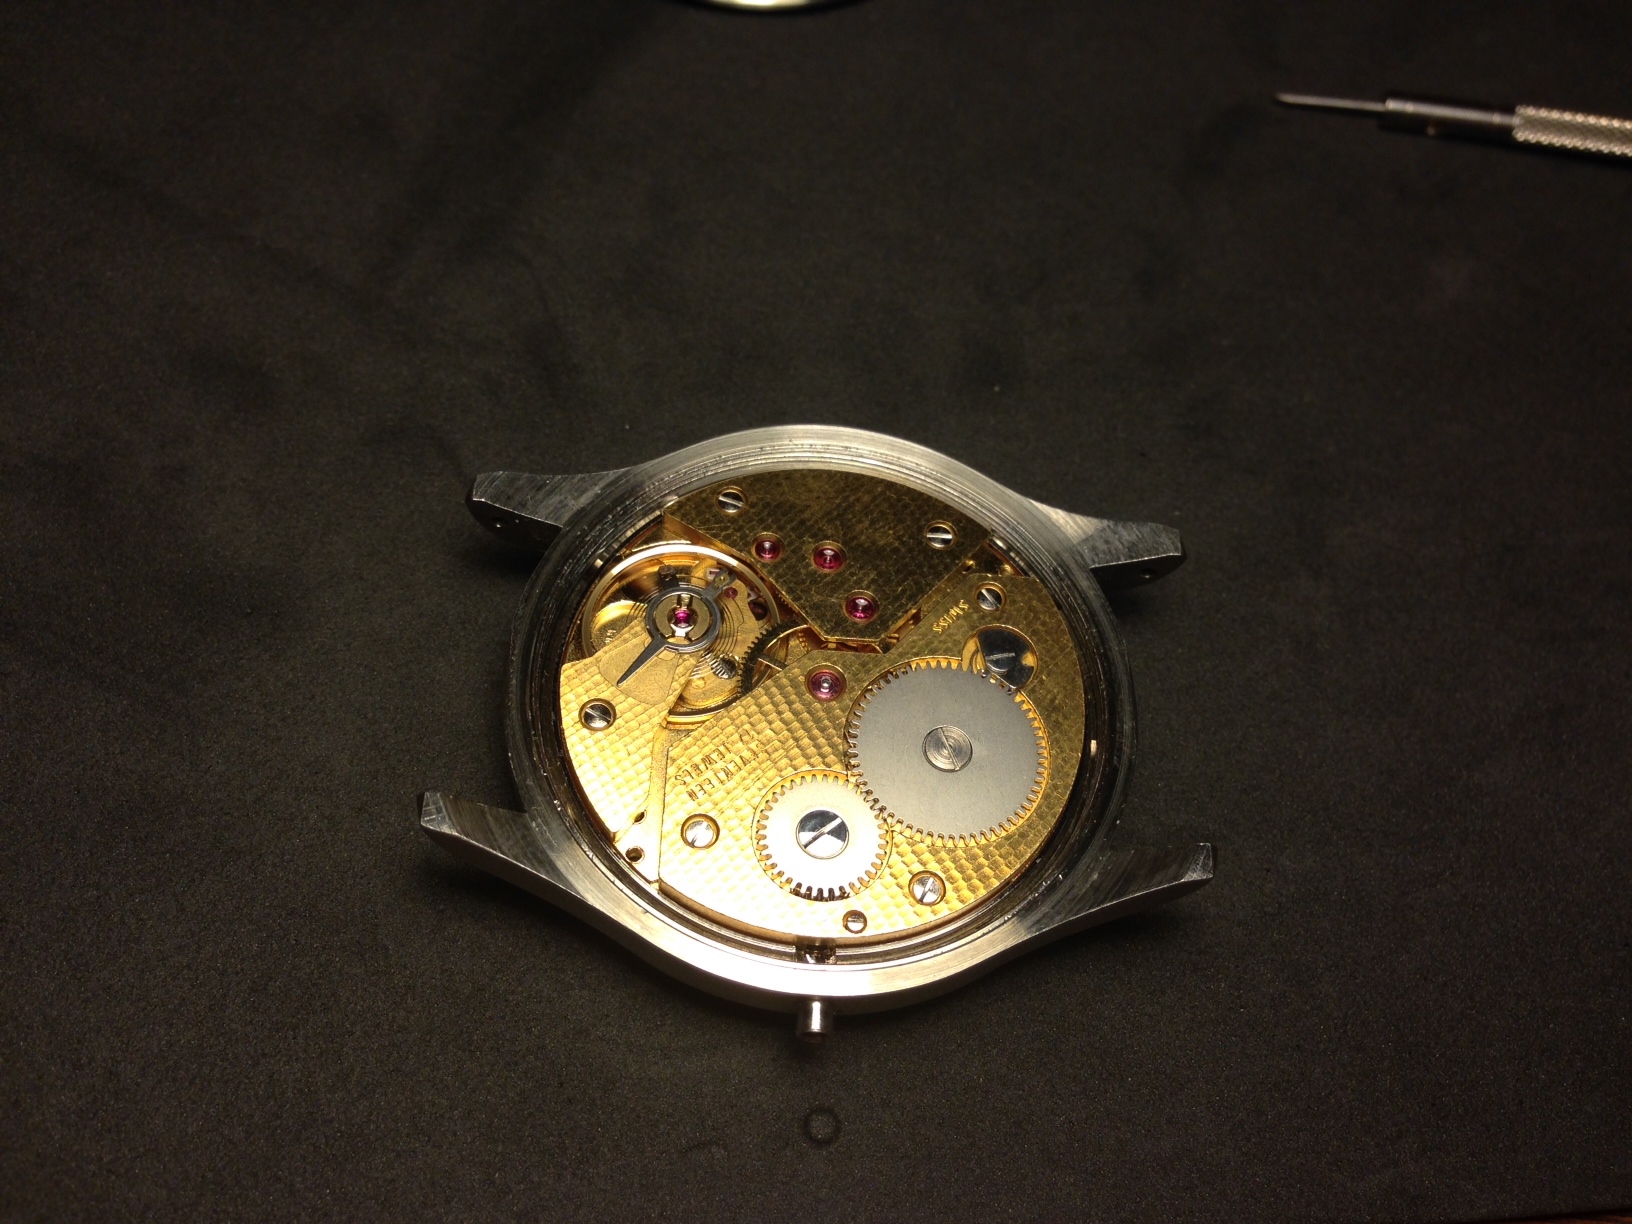
Once the movement is in place, I like to put the stem in to keep it from shifting around while I screw the movement holder tabs in place. Please note that the tab is upside down in this photo. You want it to slope downward and follow the contour of the adapter ring before you screw it in place.
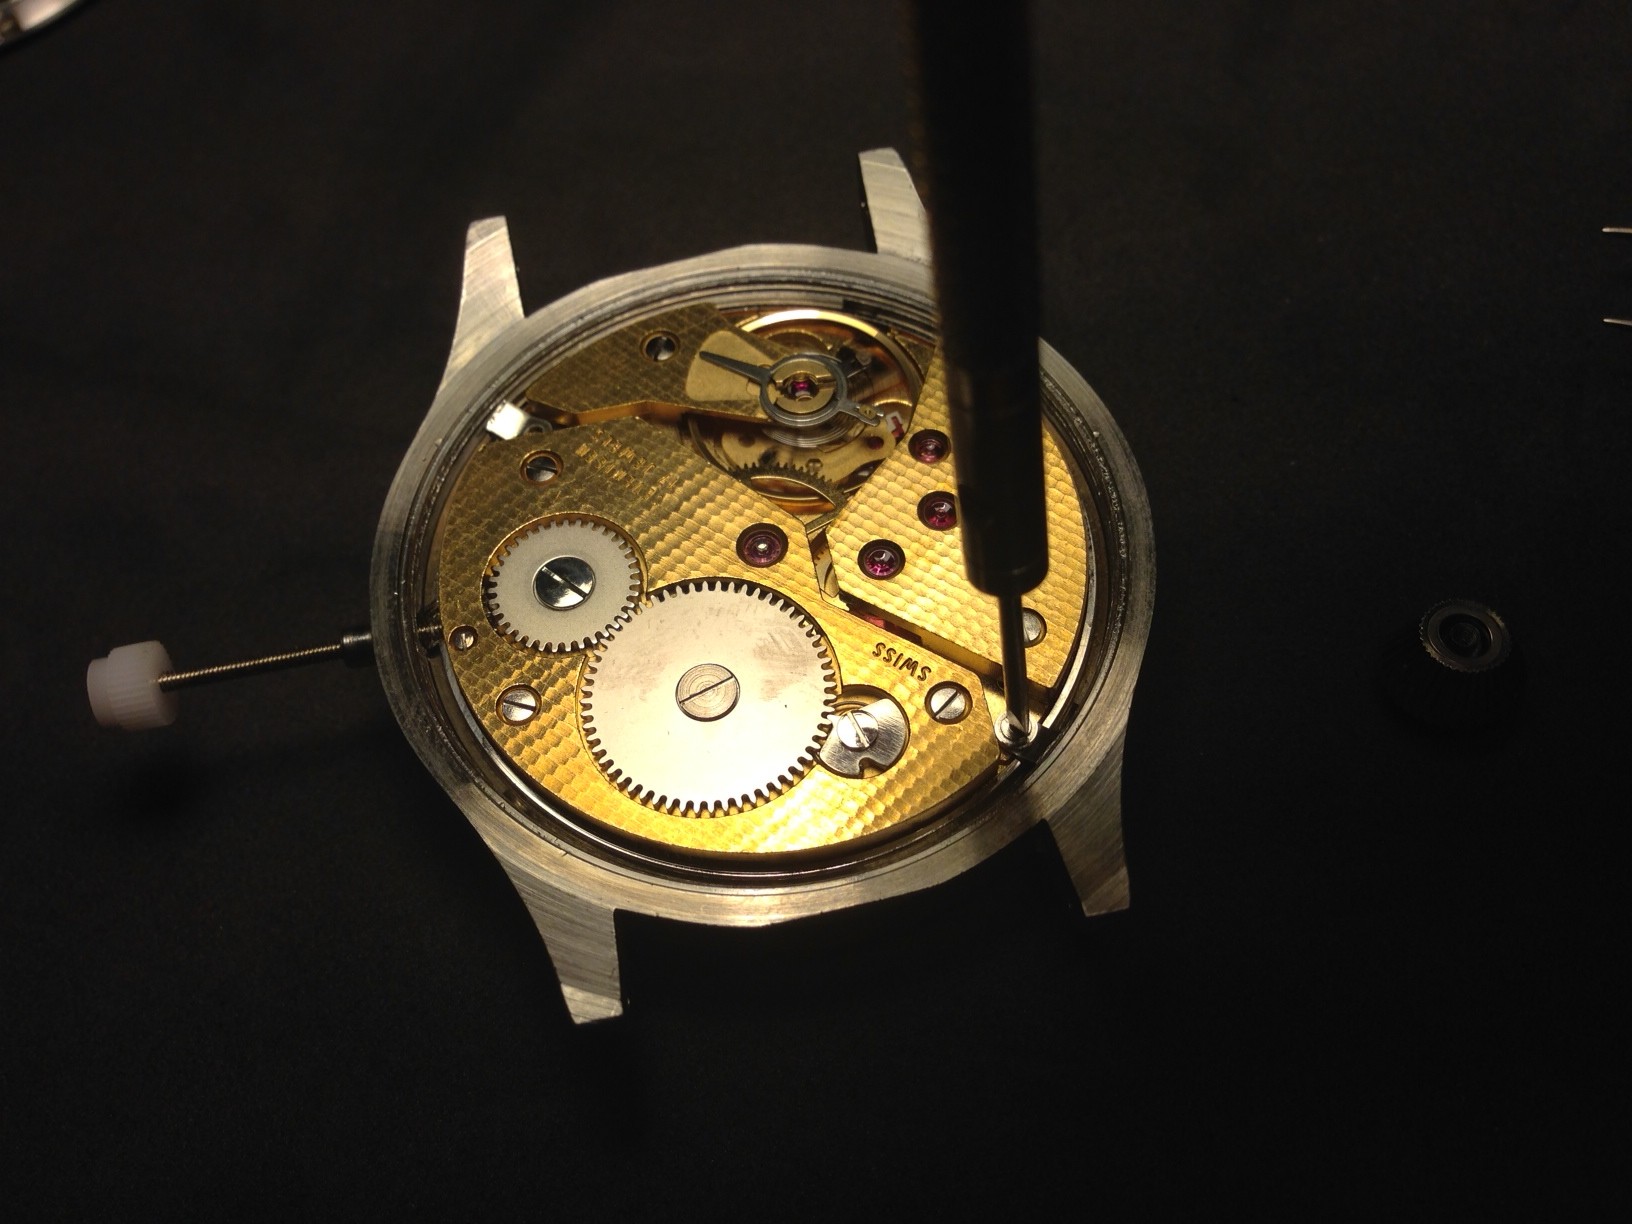
Step 7: Cutting the stem
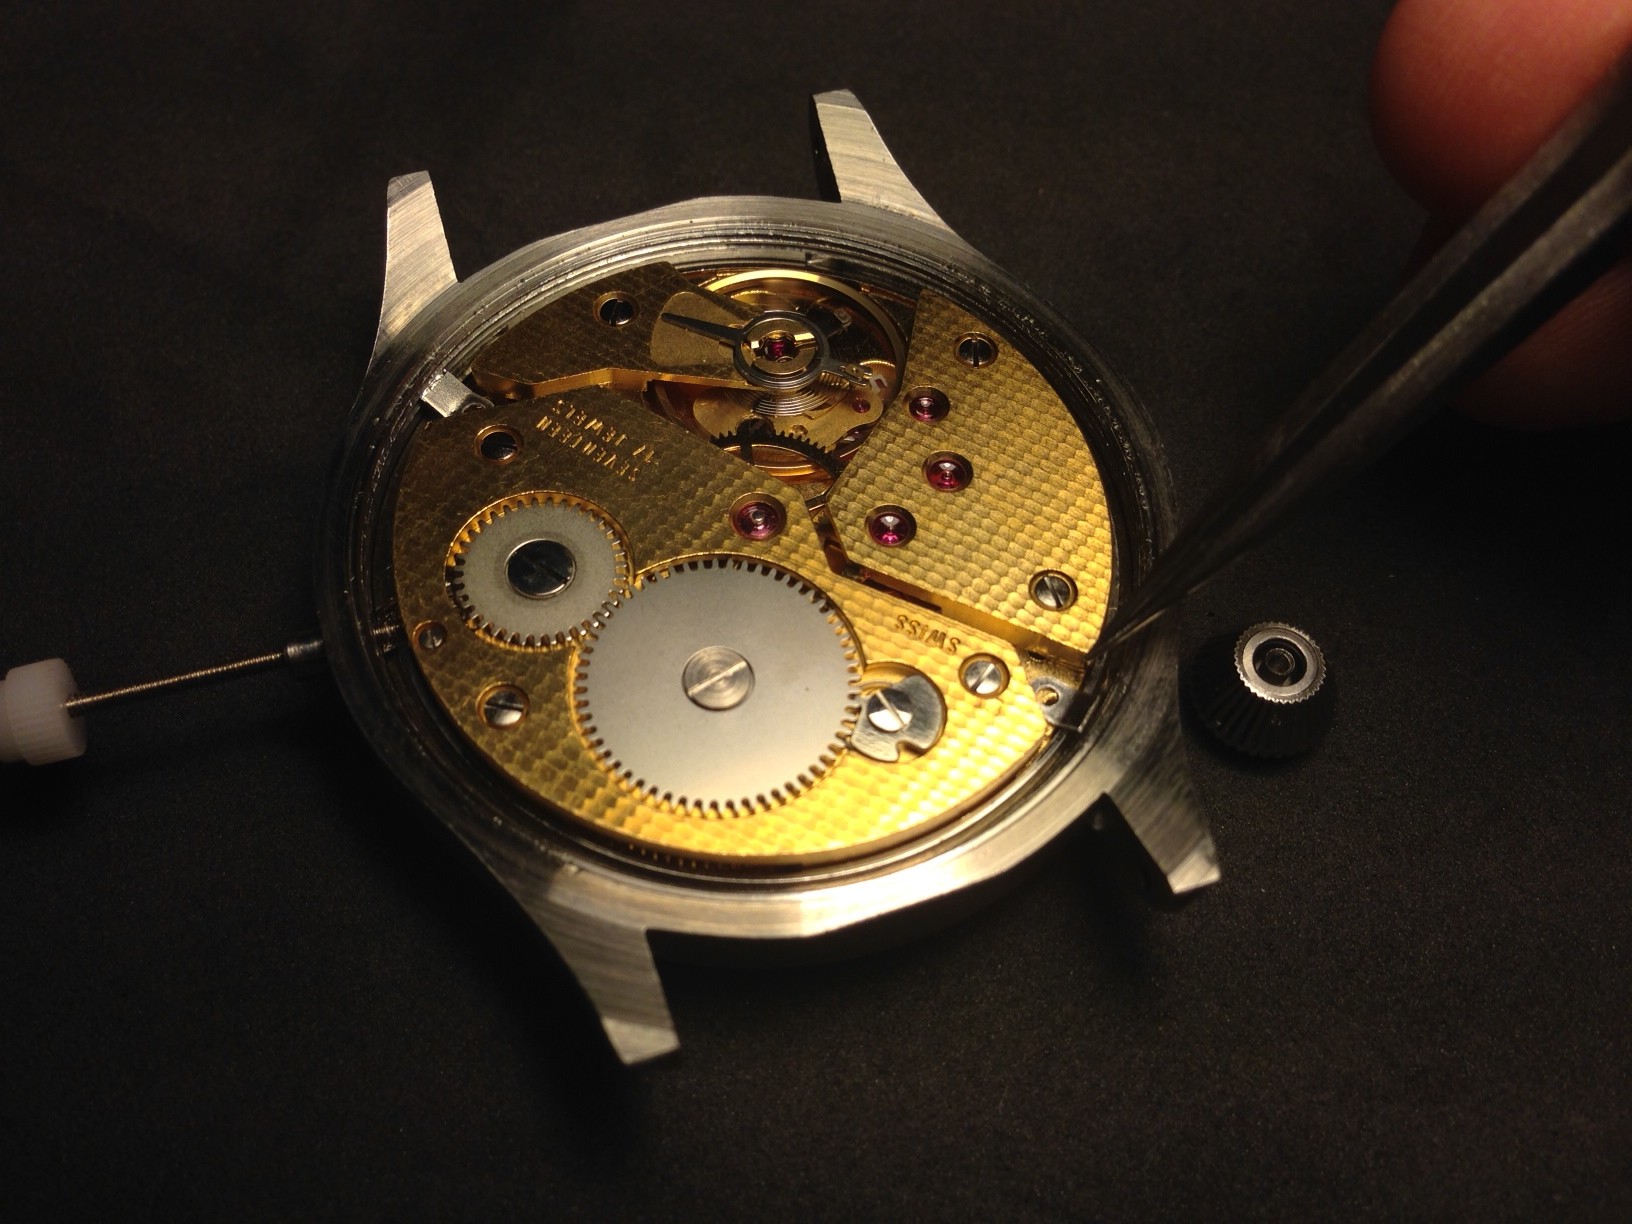
Once the movement tabs are in place, it's time to measure the stem and cut it down to fit your crown. I usually just eyeball this part. If you put the crown next to the stem, you can get an idea of how much length you'll need to cut off. If you like, you can mark the stem with a black marker so you know where to cut.
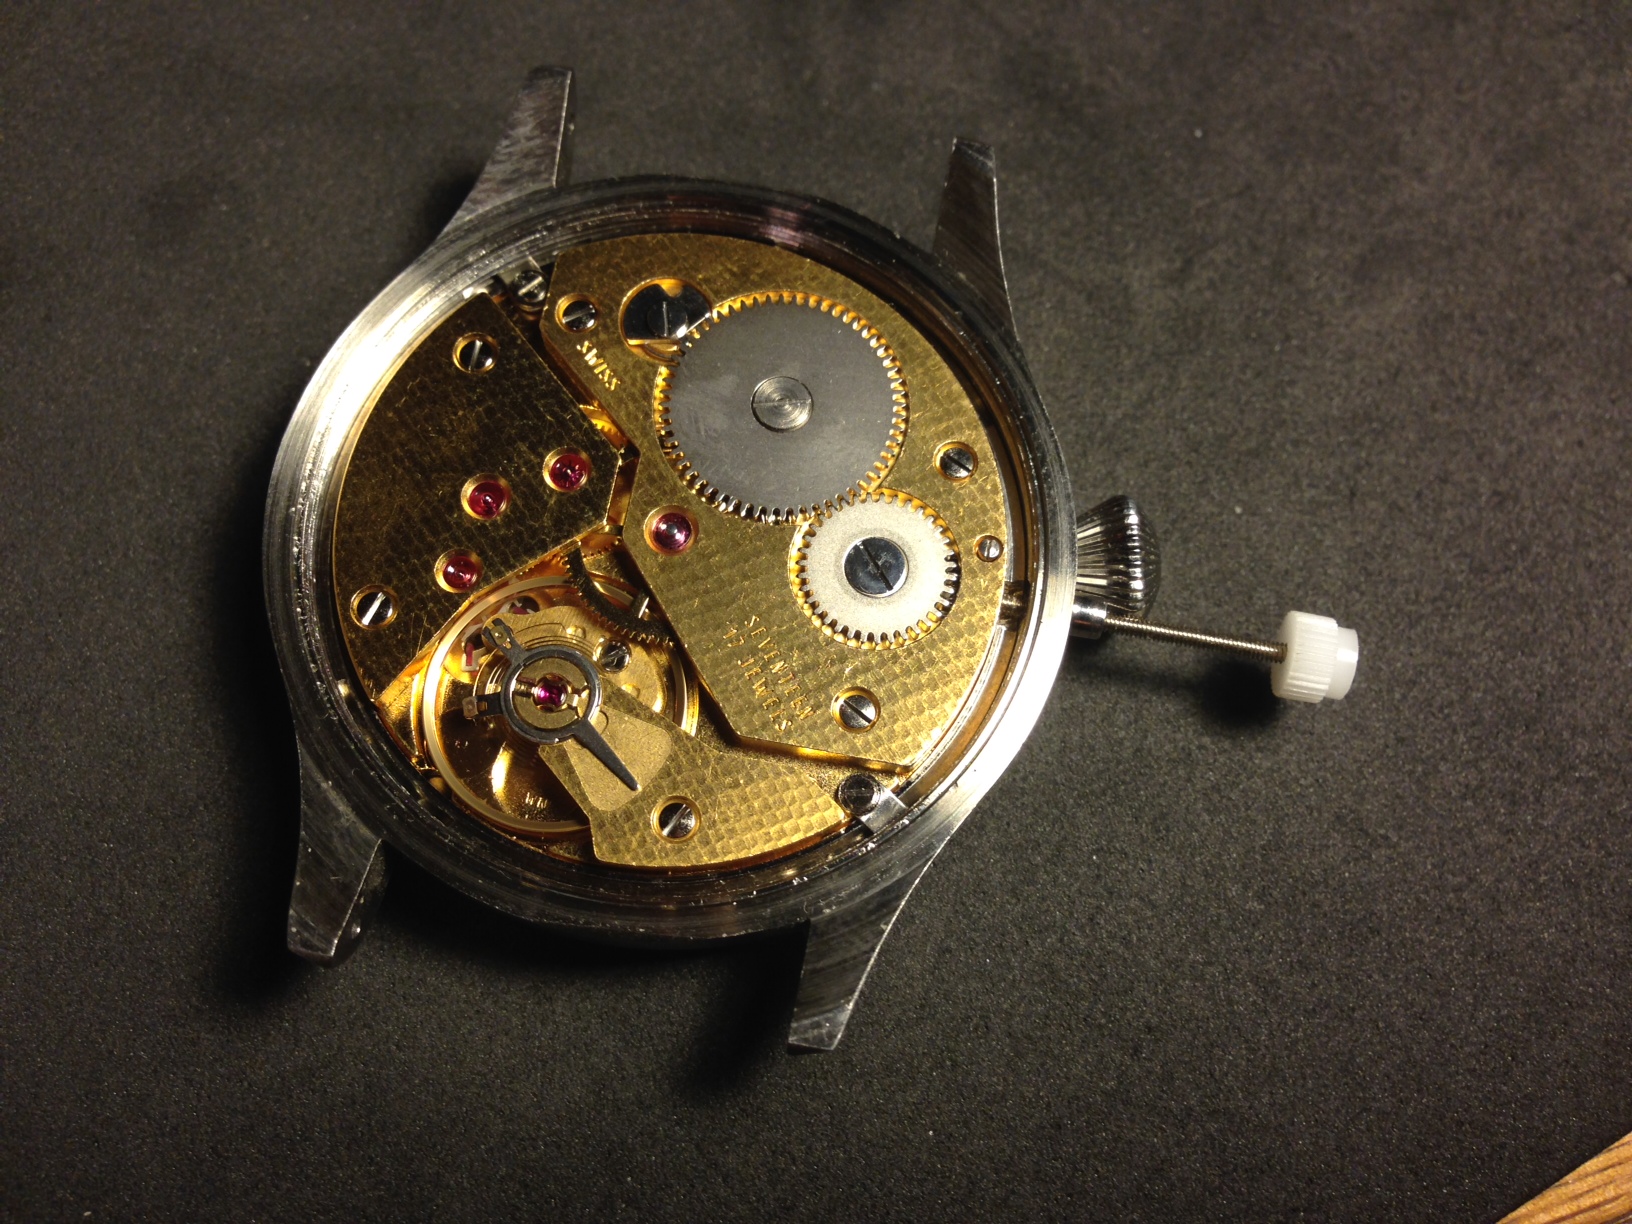

Once the extra length of the stem is cut off, screw the crown on. If the cut wasn't clean, you may have to file the end of the stem before the crown screws on. I like to add a little bit of Loctite glue to the stem so the crown doesn't come off in the future.

Once the crown is screwed in place and you are happy with the length of the stem, secure it by tightening the locking screw. Once the screw is tightened, check to make sure you can pull the crown and set the time properly.
Step 8: Attaching the case-back and straps

Next, screw on the case-back and attach the watch straps. I found that my JAXA wrench couldn't open wide enough to fit this case-back so I had to use a
friction ball case opener
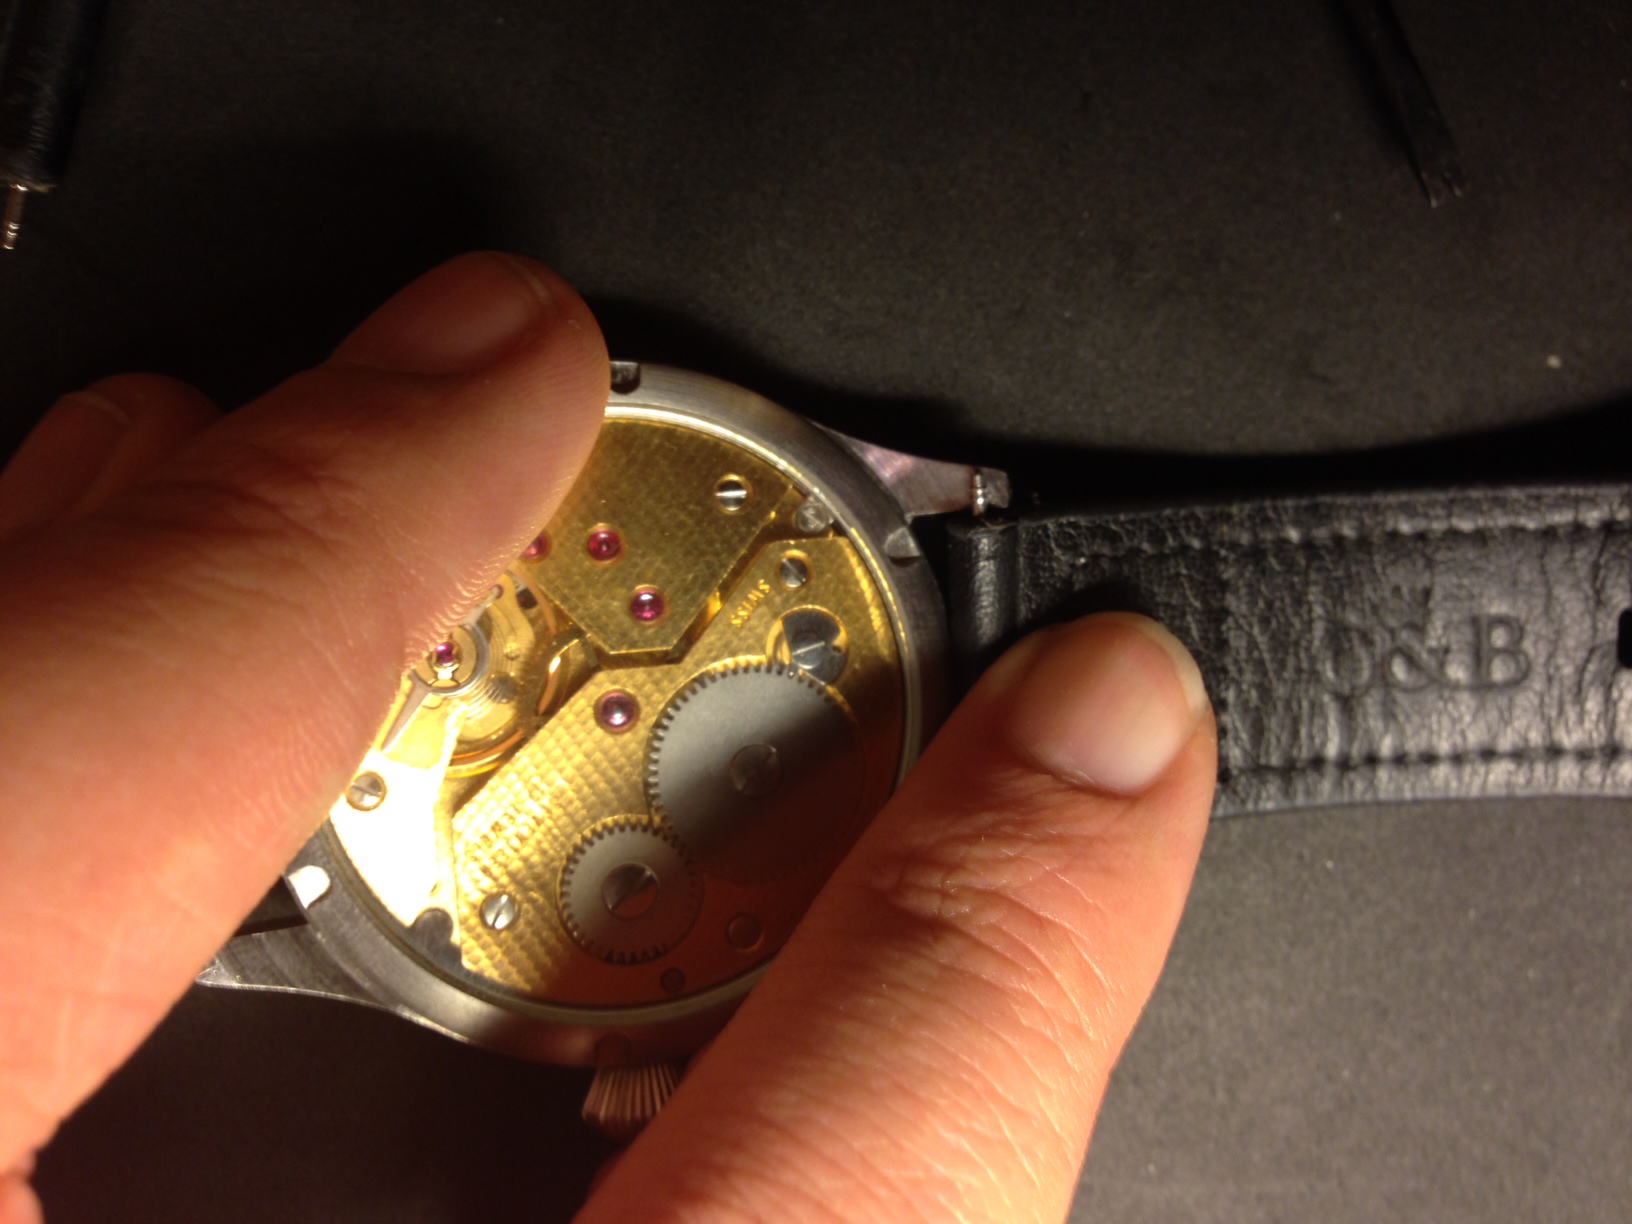
instead. Once the case-back is securely tightened, attach the straps.

Use your spring bar tool to attach the strap with the buckle to the top (12 o'clock) position. Then attach the second strap and you're done!
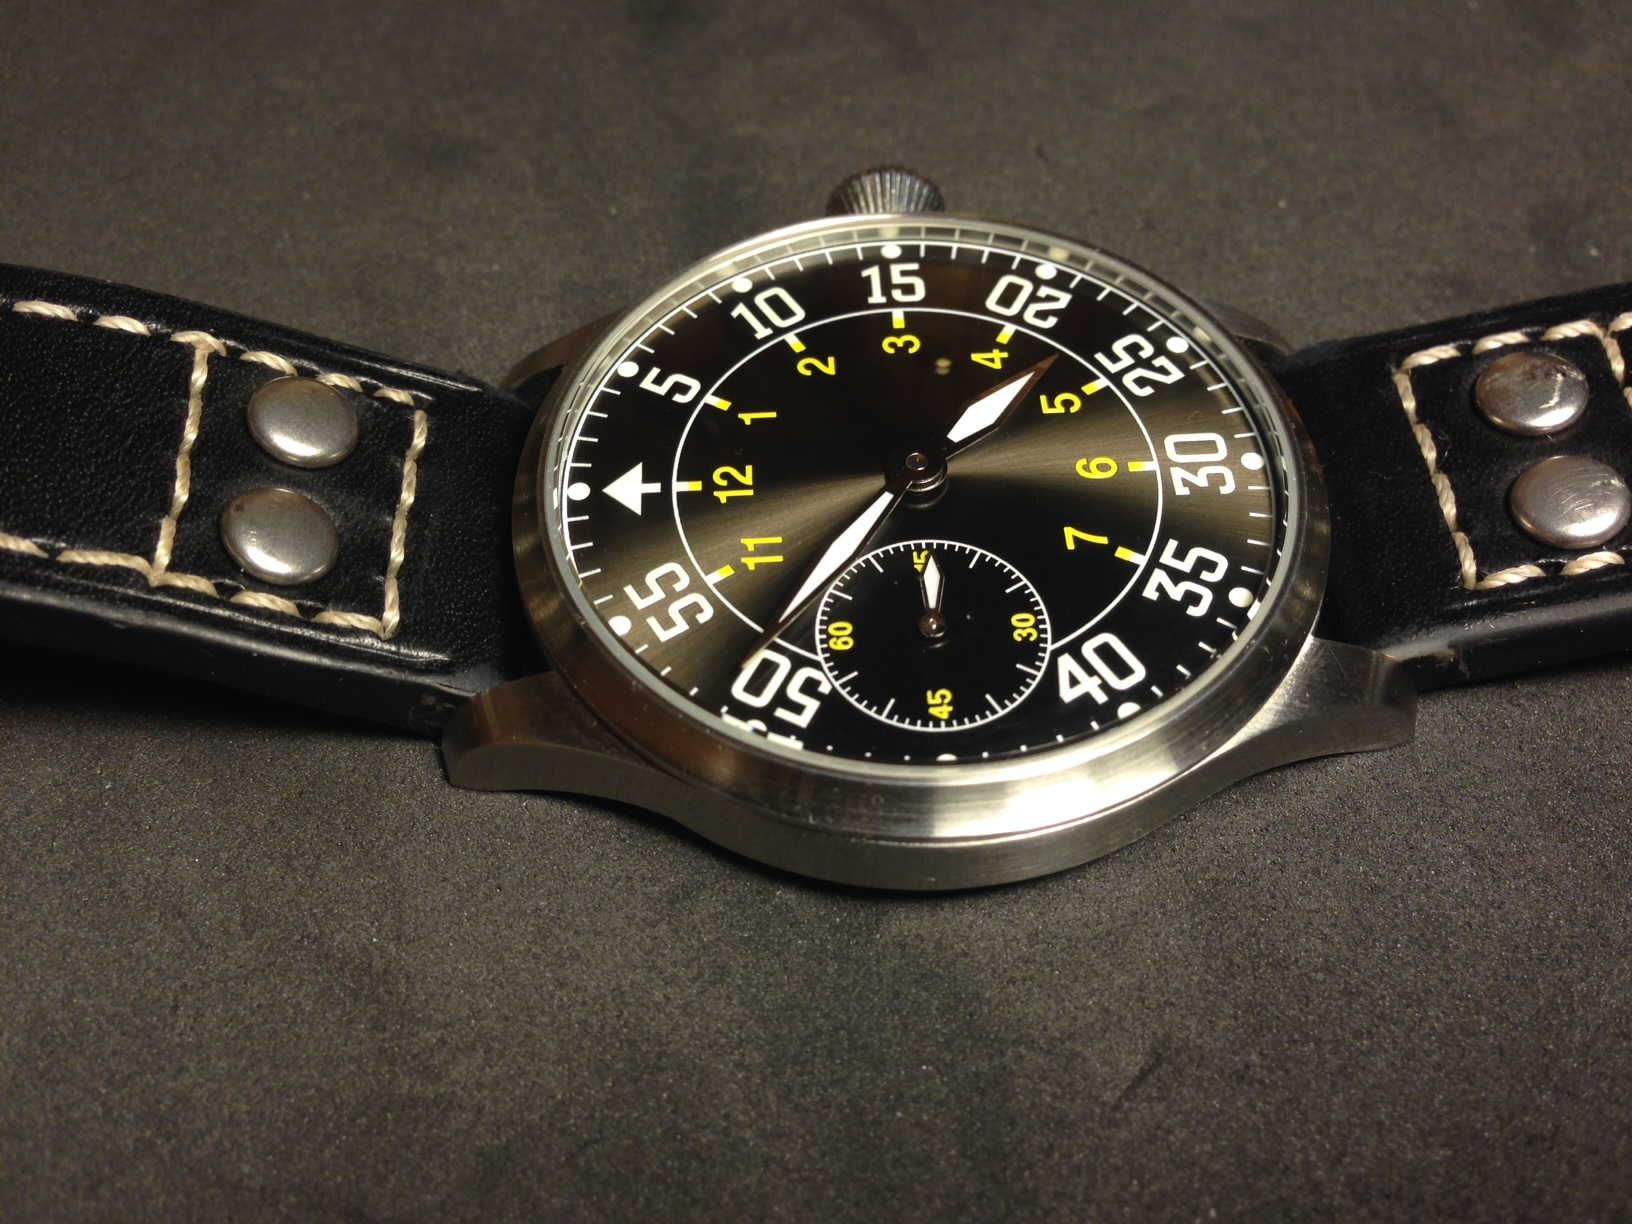
Congratulations! You are now the proud owner of a high quality bespoke Flieger-style watch for a fraction of what you would pay retail. I tallied my costs and this build came out to roughly $300.00. Not bad considering the closest Flieger-style watch with an ETA 6498/97 movement was the
Stowa Klassic which starts at $1200.00. Sure, Stowa has a rich history, but that isn't worth another $900.00 to me.




 as well. Baby oil is just mineral oil with a pleasant scent added, so if you don’t want the added scent, no problem! You can find 100% mineral oil in the isle alongside the laxatives, or you can
  too.
too.